Post by grunt on Mar 16, 2008 2:40:21 GMT -5
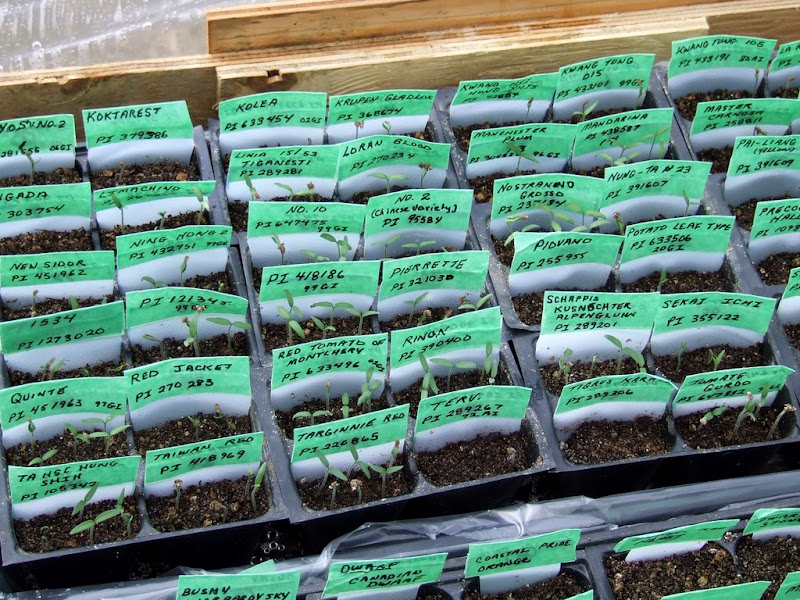
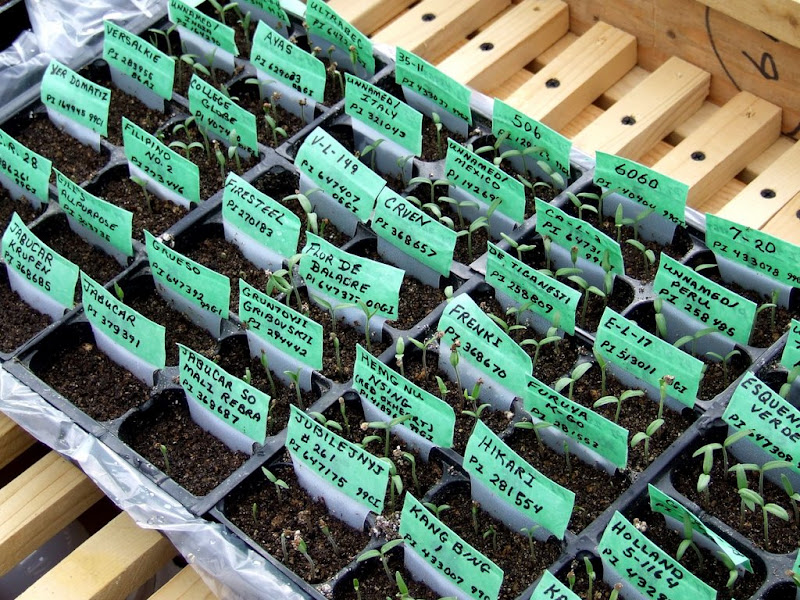
I've probably re-invented the wheel here, but this is what I came up with for a place to start all of our seedlings. (Due to a head cold, and a total lack of originality, what follows is identical to what I just posted on TomatoLand).
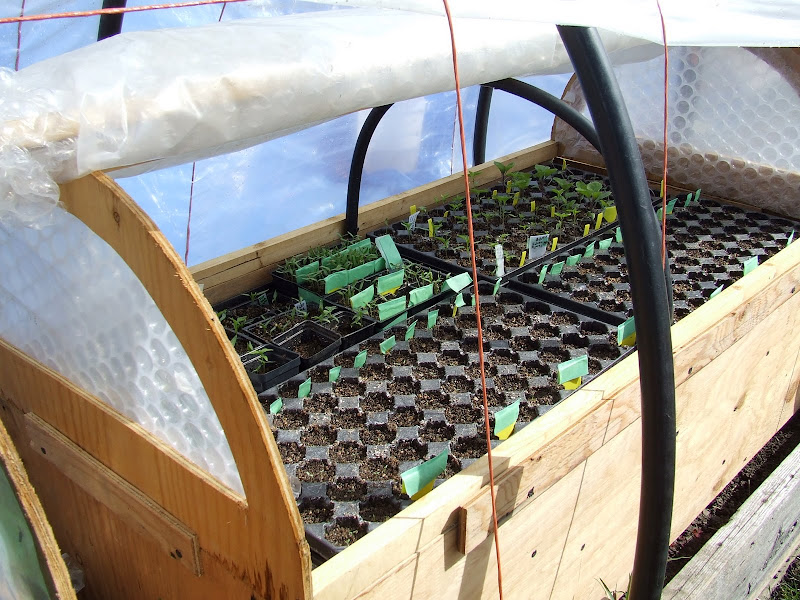
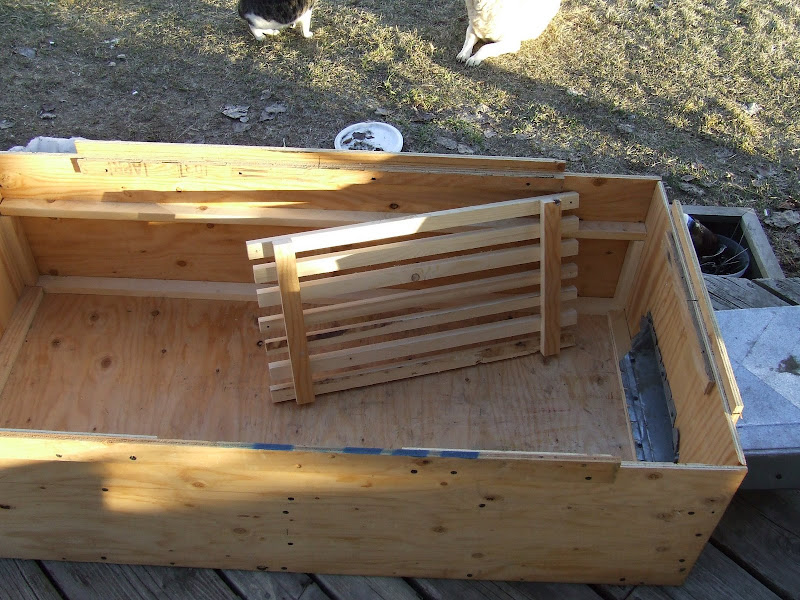
The seed starting chamber, with one of the tray racks leaning against the rail it will sit on. The chamber was designed to fit in one of my hoophouses.
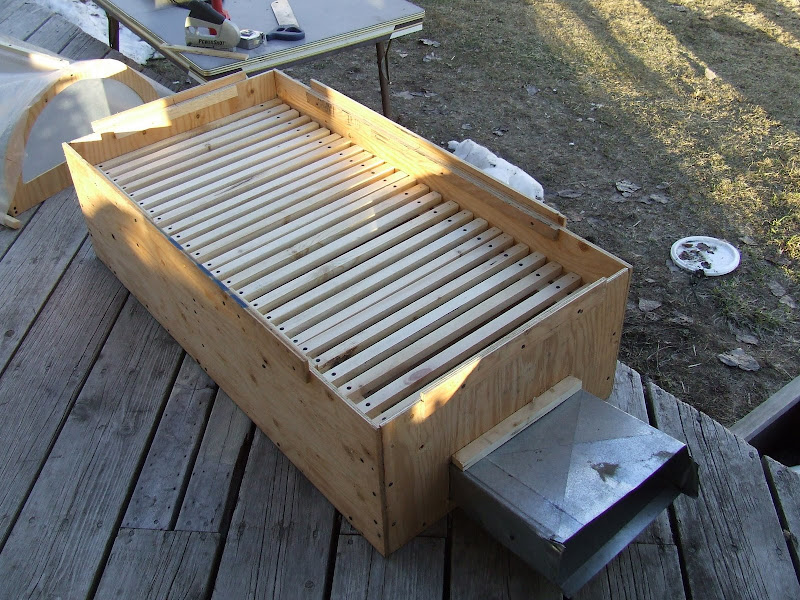
All of the racks in place. The register boards on the sides keep the top from sliding sideways. The ducting is to feed the heater air into the chamber. Temperature can be regulated by moving the heater closer or farther from the ducting mouth.
Canopy in place. The ends are plywood "D"s with a cutout. The one hoop in the middle is to keep the canopy plastic from trying to droop.
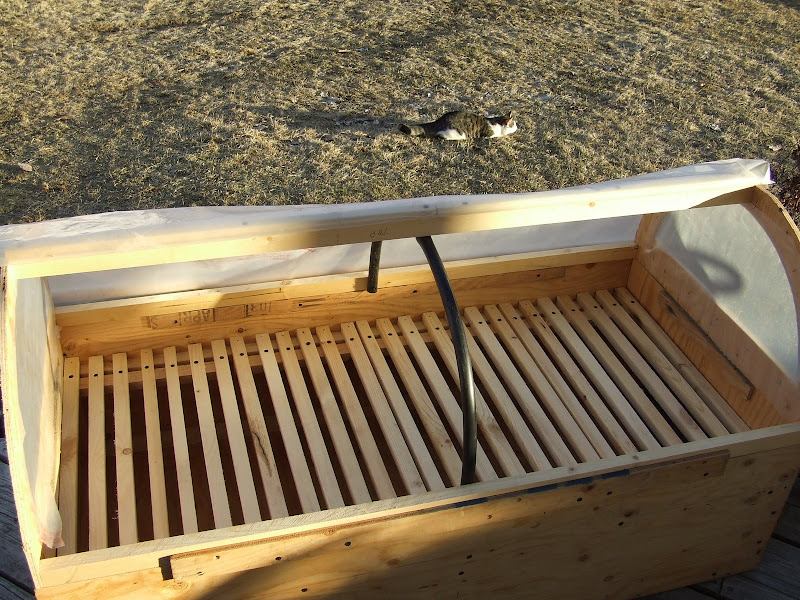
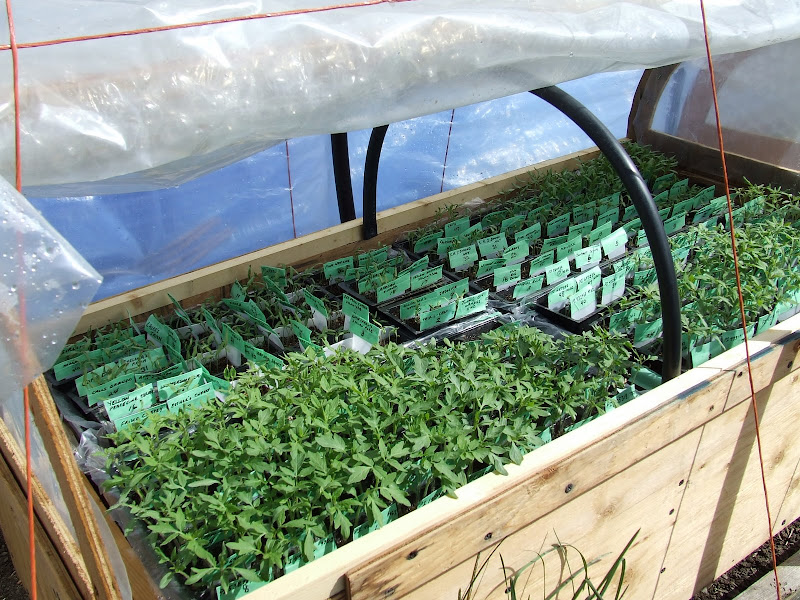
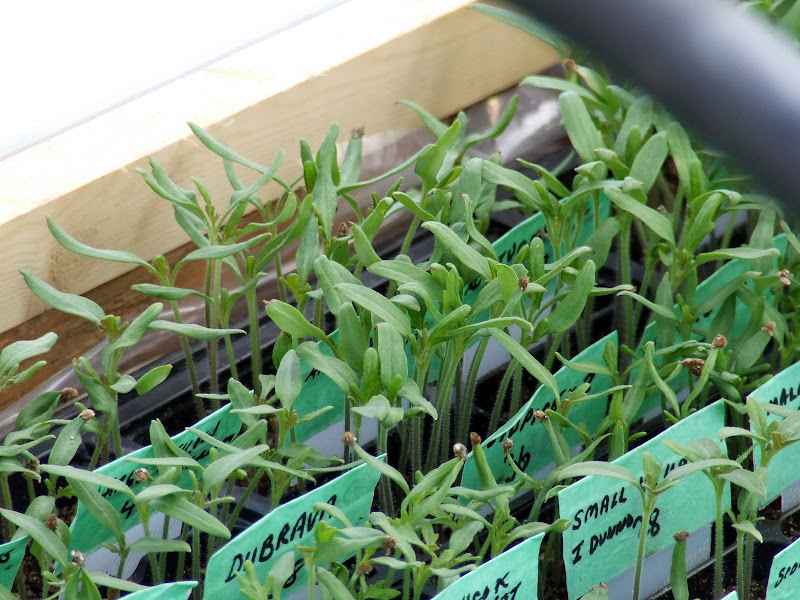
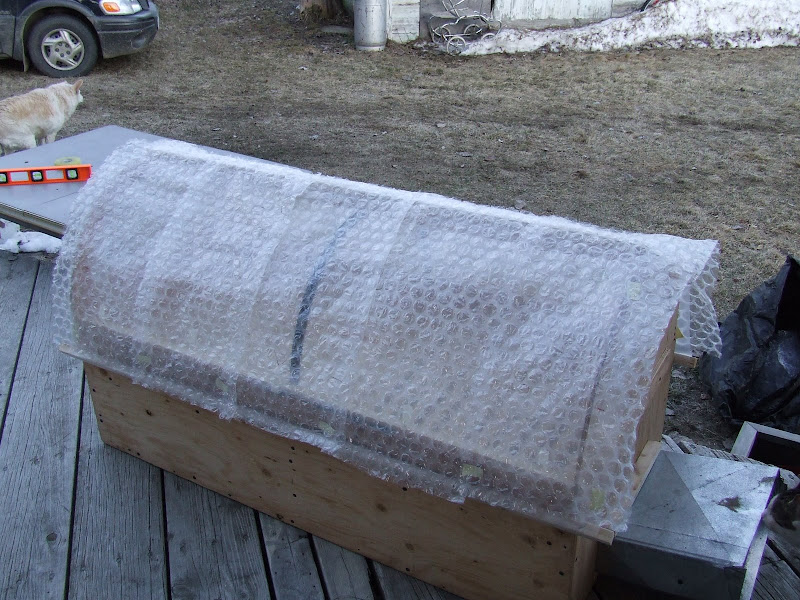
Bubble wrap applied to the canopy. Sides can be lifte out of the way to vent or access the contents. Seedlings can reach 12" before coming in contact with the canopy.
Dimensions are 24X48X12 for the bottom, with rack rails 8" up from the bottom. Canopy "D's are 14" tall, with a 2" rim around the "D'. 1"x1" slat along ridge to hold the plastic, 1"X1" slat on bottom edge of plastic to keep it in place.
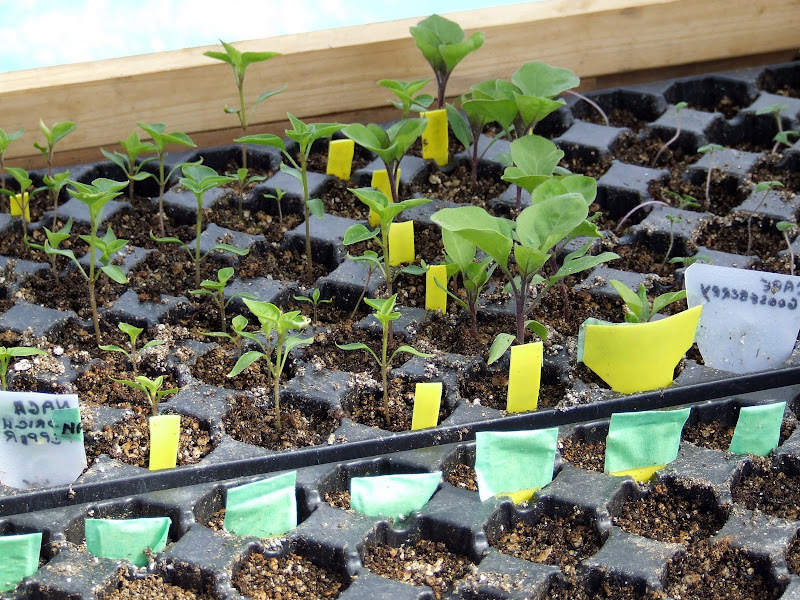
The chamber will be heated by a heater fan (600W), and will hold 4 starter trays.
Having done the usual assuming that my memory was correct, I didn't check the dimensions of the hoophouse. (When am I going to remember about CRS?) I couldn't find a large enough shoe horn, so I partly dismantled a hoophouse to put the chamber in, put it all back togather, and found that I couldn't access anything except the heater duct, because it was an almost perfect fit.
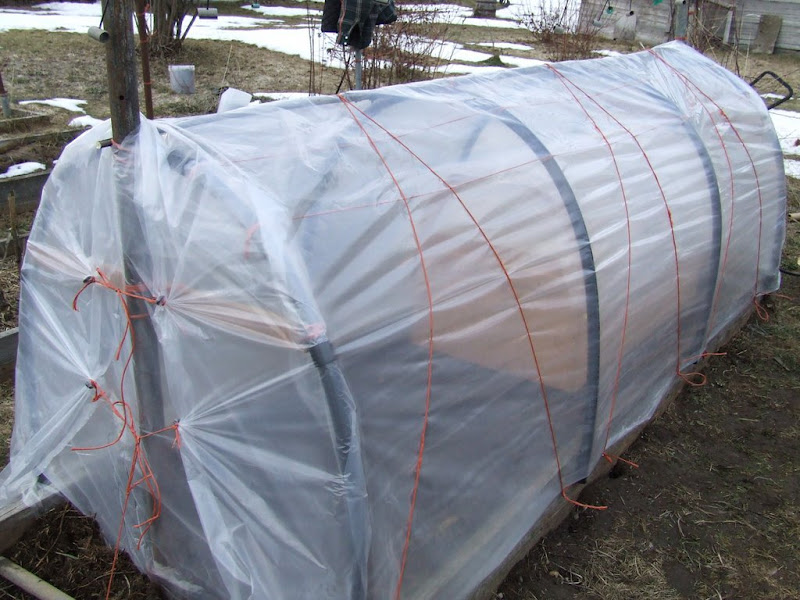
So I made a slightly taller version of the hoophouse. There's enough room to stick in another chamber if need be. And having made that statement, we all know how long it's going to take to be needed. Construction starts next week.
Temperature can be regulated by moving the heater closer to, or farther from the vent, or canting the flow to one side. The ducting had to be shortened.

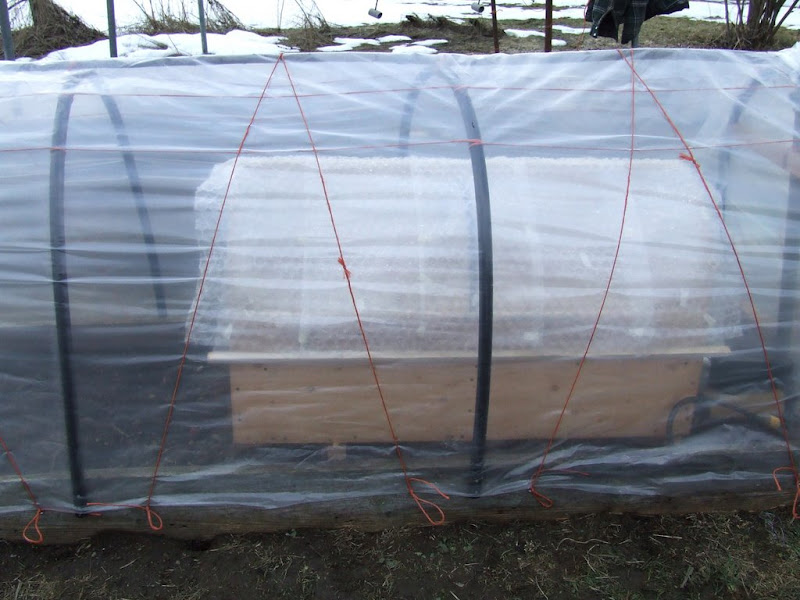
Crossbar restraining the end hoops can be seen through the plastic. The lines pulling the plastic taut across the end are the only true attachments of the plastic to the tunnel.
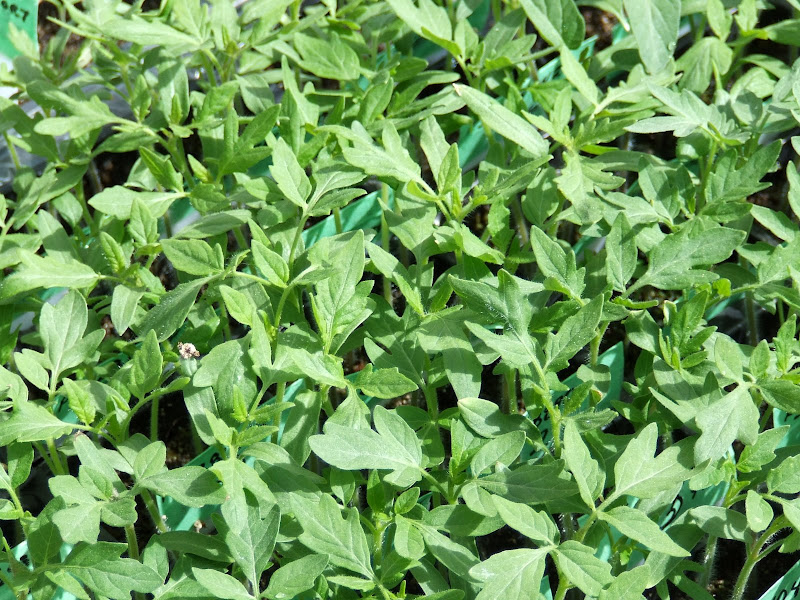
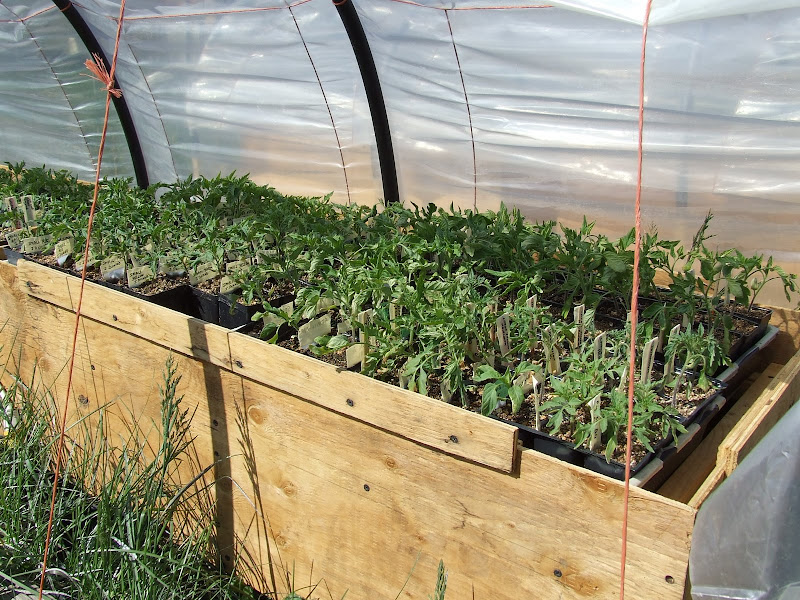
This should remove the major bottleneck in our seed starting. We don't have the room or the lights to hold starts in the house for more than a few days. There is enough headroom in the starting chamber to let everything develop true leaves before they go into a hoophouse, which has enough heat to keep frost off at night.
If you have a greenhouse, and don't want to heat the whole thing to start your seeds, this chamber could be an alternative, set up in the greenhouse. No worries about sufficient light for the starts.
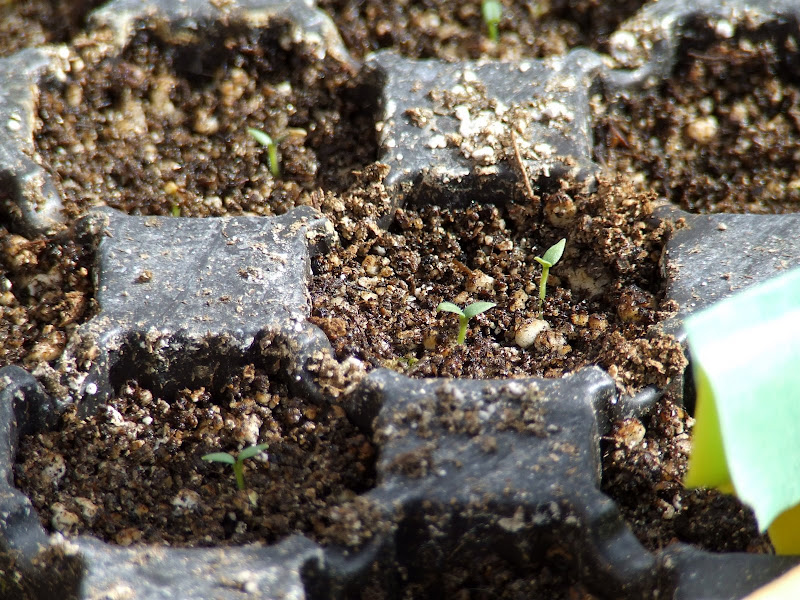
Trays start going in next week, and I'll let you know if it lives up to my expectations.
Cheers
Dan
The seed starting chamber, with one of the tray racks leaning against the rail it will sit on. The chamber was designed to fit in one of my hoophouses.
All of the racks in place. The register boards on the sides keep the top from sliding sideways. The ducting is to feed the heater air into the chamber. Temperature can be regulated by moving the heater closer or farther from the ducting mouth.
Canopy in place. The ends are plywood "D"s with a cutout. The one hoop in the middle is to keep the canopy plastic from trying to droop.
Bubble wrap applied to the canopy. Sides can be lifte out of the way to vent or access the contents. Seedlings can reach 12" before coming in contact with the canopy.
Dimensions are 24X48X12 for the bottom, with rack rails 8" up from the bottom. Canopy "D's are 14" tall, with a 2" rim around the "D'. 1"x1" slat along ridge to hold the plastic, 1"X1" slat on bottom edge of plastic to keep it in place.
The chamber will be heated by a heater fan (600W), and will hold 4 starter trays.
Having done the usual assuming that my memory was correct, I didn't check the dimensions of the hoophouse. (When am I going to remember about CRS?) I couldn't find a large enough shoe horn, so I partly dismantled a hoophouse to put the chamber in, put it all back togather, and found that I couldn't access anything except the heater duct, because it was an almost perfect fit.
So I made a slightly taller version of the hoophouse. There's enough room to stick in another chamber if need be. And having made that statement, we all know how long it's going to take to be needed. Construction starts next week.
Temperature can be regulated by moving the heater closer to, or farther from the vent, or canting the flow to one side. The ducting had to be shortened.
Crossbar restraining the end hoops can be seen through the plastic. The lines pulling the plastic taut across the end are the only true attachments of the plastic to the tunnel.
This should remove the major bottleneck in our seed starting. We don't have the room or the lights to hold starts in the house for more than a few days. There is enough headroom in the starting chamber to let everything develop true leaves before they go into a hoophouse, which has enough heat to keep frost off at night.
If you have a greenhouse, and don't want to heat the whole thing to start your seeds, this chamber could be an alternative, set up in the greenhouse. No worries about sufficient light for the starts.
Trays start going in next week, and I'll let you know if it lives up to my expectations.
Cheers
Dan

 ;D
;D